🪐 Notebook Component
With a Jupyter server
<Jupyter
  jupyterServerUrl="https://oss.datalayer.run/api/jupyter-server"
  jupyterServerToken="60c1661cc408f978c309d04157af55c9588ff9557c9380e4fb50785750703da6"
>
  <Notebook />
</Jupyter>
You can set the following props to connect it to a running Jupyter Server:
jupyterServerUrl: The server URLjupyterServerToken: The server authentication token
note
Your server will likely to accept connections from external client.
With in-browser kernel
It supports in-browser kernel (using JupyterLite kernels).
To use the Pyodide Python kernel,
you can simply set lite to true:
<Jupyter
    lite={true}
>
    <Notebook
      ipywidgets={'classic'}
      {/* Include a default content */}
      nbformat={{
        cells: [
          {
            cell_type: 'code',
            outputs: [],
            source:
              "import micropip\nawait micropip.install('ipywidgets')",
          },
          {
            cell_type: 'code',
            outputs: [],
            source: 'import ipywidgets as widgets\nw = widgets.IntSlider()\nw',
          }
        ],
        metadata: {
          kernelspec: {
            display_name: 'Python 3 (ipykernel)',
            language: 'python',
            name: 'python3',
          },
        },
        nbformat: 4,
        nbformat_minor: 5,
      }}
    />
</Jupyter>
More Examples
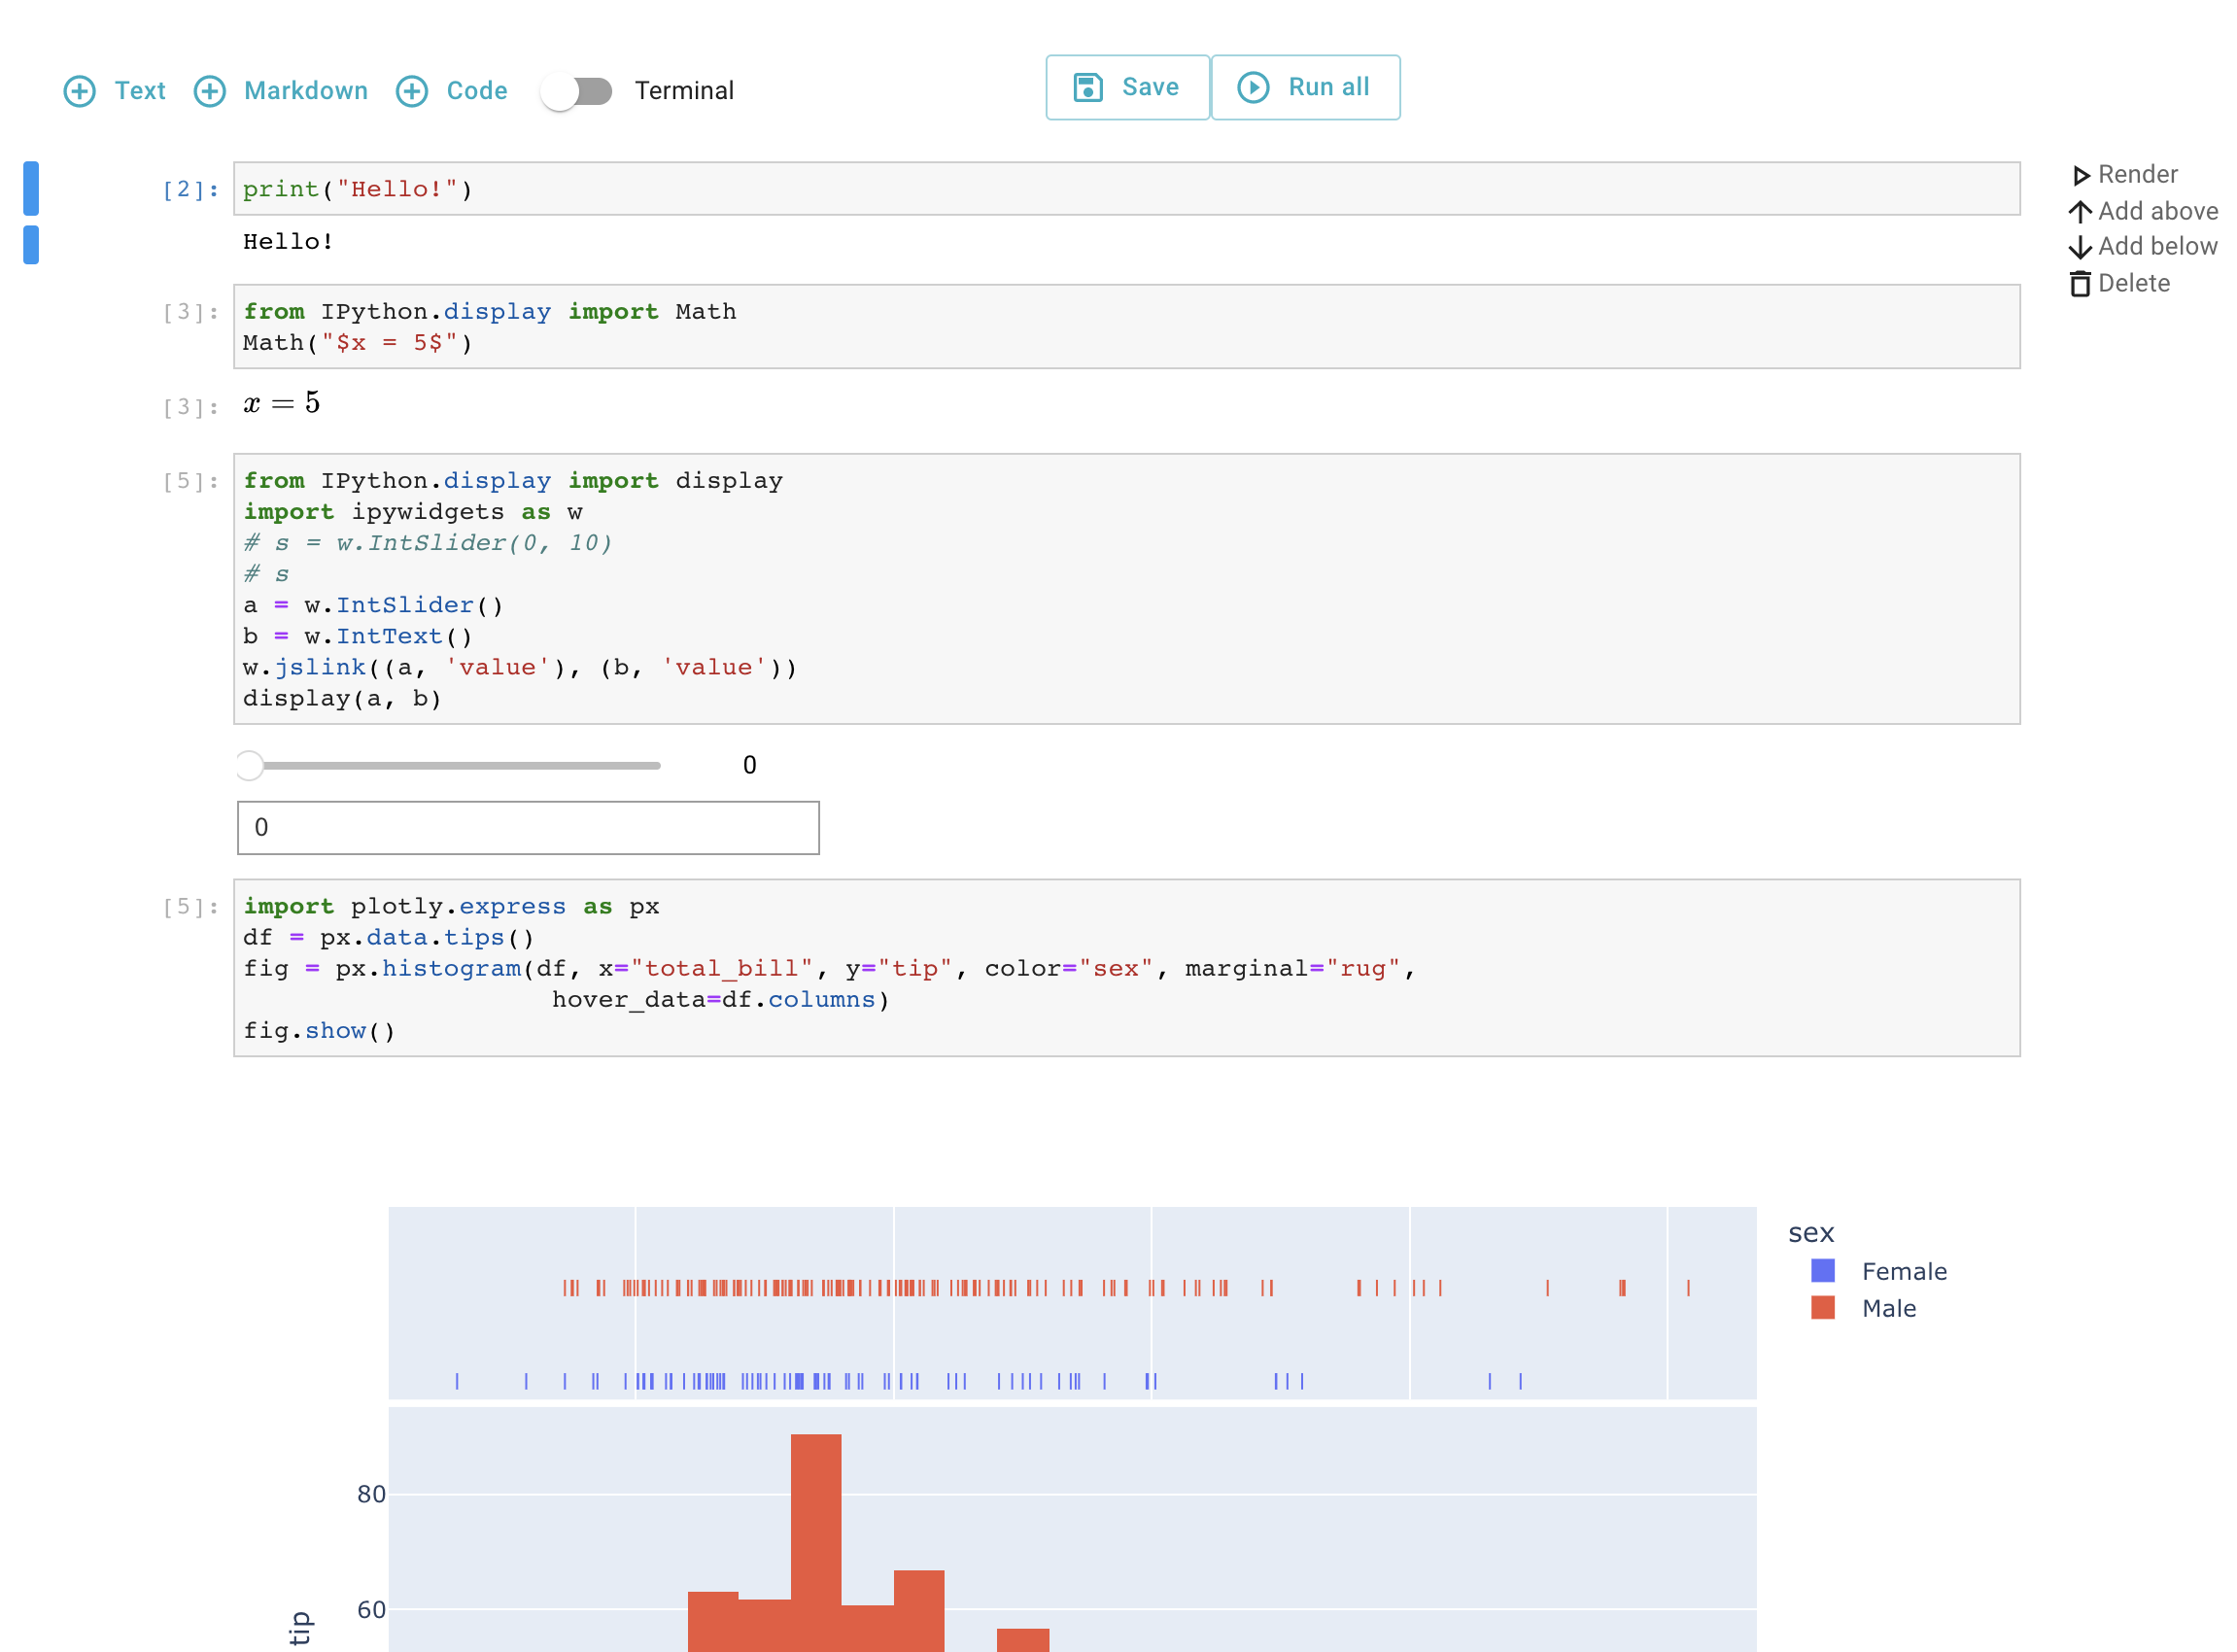
The below picture is an example of Notebook into a React.js component.

In this first example, the Jupyter Server will be fetched for the test.ipynb notebook ipynb file content.
<Jupyter terminals={true} collaborative={true}>
  <Notebook path="test.ipynb" />
</Jupyter>
Alternatively, you can get a notebook "ipynb" content from any JSON file compatible with the INotebookContent interface.
import { INotebookContent } from '@jupyterlab/nbformat';
import nbformat from "./NotebookExample.ipynb.json";

<Jupyter terminals={true} collaborative={true}>
  <Notebook nbformat={nbformat as INotebookContent} />
</Jupyter>
The available properties for the Notebook component are listed on the TypeDoc page.